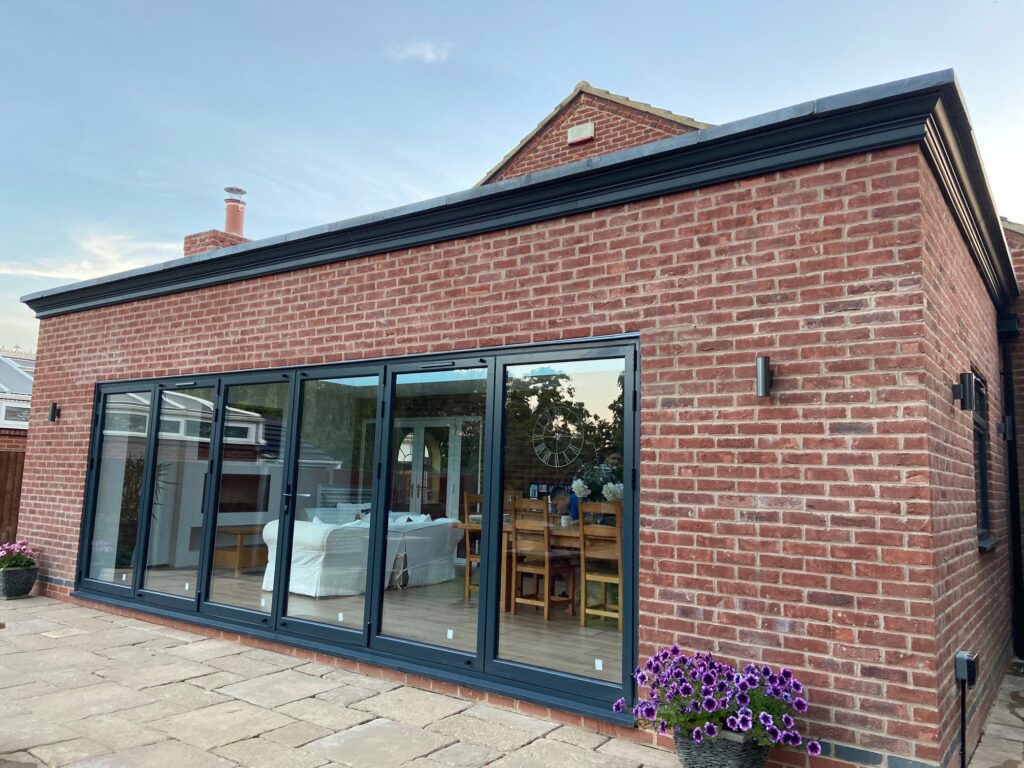
You’ve decided to tackle painting your home’s exterior cornices, and you’re on the right track. These decorative architectural features can make a significant impact on your house’s overall appearance. But before you grab that paintbrush, it’s essential to understand the proper steps and techniques involved. A well-executed cornice paint job can enhance your home’s curb appeal and protect these vulnerable areas from the elements. However, if done incorrectly, you might face unsightly results and potential damage. Let’s explore how you can achieve a professional-looking finish that’ll make your neighbors envious.
Preparation and Safety

Before you begin painting exterior cornices, you’ll need to gather essential safety equipment and prepare the work area to guarantee a smooth, hazard-free process. Start by donning protective gear, including safety glasses, gloves, and a dust mask.
Inspect your ladder and scaffolding for stability, ensuring they’re well-maintained and secure.
Check weather forecasts to avoid painting in extreme temperatures or high humidity. Prepare your materials by cleaning the cornices thoroughly and repairing any damage. Protect surrounding surfaces with drop cloths and painter’s tape.
For material preparation, gather high-quality brushes, rollers, and paint trays. Mix your paint thoroughly and strain it to remove any lumps. Don’t forget to prime the surface for better adhesion.
Cleaning and Repairing
Thoroughly cleaning and fixing your exterior cornices is vital for maintaining proper paint adhesion and longevity of the finished product. Begin by examining the surface for any cracks, chips, or loose sections.
Use a soft-bristled brush and mild detergent to eliminate dirt, grime, and loose paint. For stubborn stains, try a pressure washer on a low setting. Once clean, let the cornices dry completely.
For repairs, choose materials compatible with your cornice’s composition. Fill small cracks with exterior-grade caulk, and patch larger holes with epoxy filler. Sand repaired areas smooth. If you encounter extensive damage, consider replacing sections entirely.
Maintenance tip: Regular cleaning and inspection can prevent major repairs down the line. When selecting cleaning techniques and repair methods, always prioritize those that won’t compromise the cornice’s structural integrity. This approach guarantees your freedom to maintain your home’s aesthetic without constant worry.
Priming the Surface
Priming the surface of your exterior cornices is an important step that improves paint adhesion and guarantees a long-lasting finish. Before you begin, perform proper surface preparation by cleaning and repairing any damaged areas.
Choose a high-quality primer designed for exterior use and polystyrene surfaces. Apply the primer with a brush or roller, following the manufacturer’s instructions for ideal coverage. This step provides essential surface protection, creating a barrier against moisture and UV rays.

Allow the primer to dry completely before paint application. The primer benefits include enhanced paint adhesion, better coverage, and increased durability of the final coat. It also helps to seal any porous areas in the cornice material.
For best results, apply two thin coats of primer rather than one thick coat. This approach ensures even coverage and maximizes the primer’s effectiveness in protecting your cornices.
Painting Techniques and Finishing
With your cornices primed and ready, it’s time to apply paint using effective techniques for a professional finish.
Select a color that complements your home’s exterior, opting for light-reflective shades to combat heat absorption.
Use smooth, even brush strokes, working in the direction of the cornice’s contours. Apply thin coats to prevent drips and ensure consistent coverage.
Consider weather conditions; avoid painting in direct sunlight or when rain is expected. Allow adequate drying time between coats, typically 2-4 hours, depending on humidity levels.
For a long-lasting finish, apply at least two coats.
Once complete, maintain your cornices by cleaning them annually with a mild detergent solution and soft brush. Touch up any chips or scratches promptly to prevent moisture ingress.
With proper care, your newly painted cornices will enhance your home’s curb appeal for years to come.
Frequently Asked Questions
How Long Does It Typically Take for Exterior Cornice Paint to Fully Cure?
You’ll find the paint’s drying time varies based on paint quality, weather conditions, and application. Humidity levels, surface preparation, paint thickness, and temperature impact the curing process. Typically, it’ll take 2-4 weeks for full cure, depending on ventilation requirements.
Can I Use Textured Paint on Polystyrene Cornices for a Unique Effect?
You can use textured paint on polystyrene cornices for unique effects. Explore creative finishes and color options to achieve distinctive designs. DIY techniques allow for customization, but make sure the paint is compatible with polystyrene to avoid damage.
What’s the Best Way to Remove Old Paint From Exterior Cornices?
You’ve got options to strip old paint: Use a chemical stripper with gloves, sand thoroughly, apply heat gun and scrape, power wash and scrub, or try sandblasting with a wire brush. Paint thinner can help too. Choose your method wisely.
Are There Any Eco-Friendly Paint Options Suitable for Exterior Polystyrene Cornices?
You’ll find sustainable options for your exterior polystyrene cornices. Consider environmentally friendly, water-based acrylic paints with low VOCs. These green paint choices offer eco-conscious solutions that are durable and safe. Look for eco-certified exterior paint alternatives for best results.
How Often Should Exterior Cornices Be Repainted for Optimal Maintenance?
You’ll need to repaint exterior cornices every 5-7 years for best maintenance. Paint longevity depends on weather impact and exterior protection. Regular checks guarantee color options stay vibrant. Maintenance frequency varies based on local climate conditions.
Conclusion
You’ve now completed the process of painting your exterior cornices. Remember to allow sufficient drying time between coats and monitor weather conditions throughout.
It’s essential to maintain your newly painted cornices by cleaning them annually and addressing any touch-ups promptly.
With proper care, your painted cornices will enhance your home’s curb appeal and protect against weathering for years to come.
Always prioritize safety when working at heights and with painting materials.
If you’re looking for an exterior moulding supplier in the UK – have a look at this website: Homemerce.com

